Chicken Caesar Salad Wrap Pictures - All Sandwiches
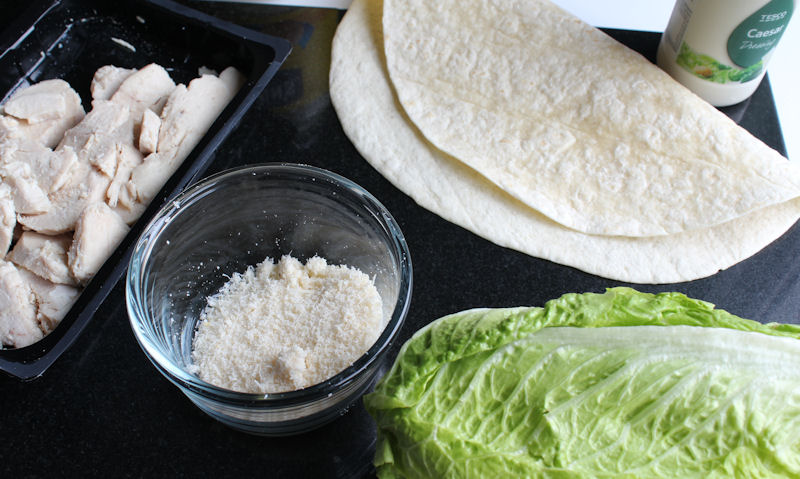
Traditional chicken caesar salad wrapped in a plain white tortilla wrap with cooked roast chicken, caesar dressing and mayonnaise, Parmesan and romaine lettuce.
Follow this caesar salad wrap recipe using the photo's below, starting off with the chicken and dressing mixture.
Step 1: Put roast chicken in bowl
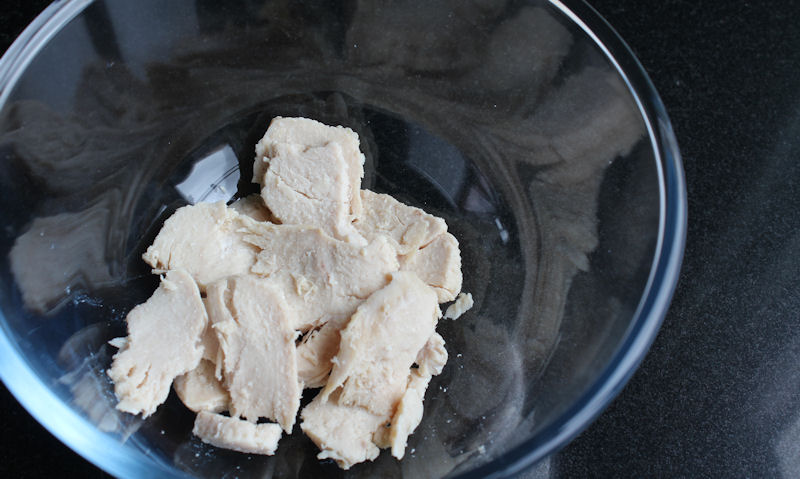
Begin by throwing 80g of cooked sliced roast chicken pieces into a mixing bowl.
Step 2: Throw in caesar and mayo
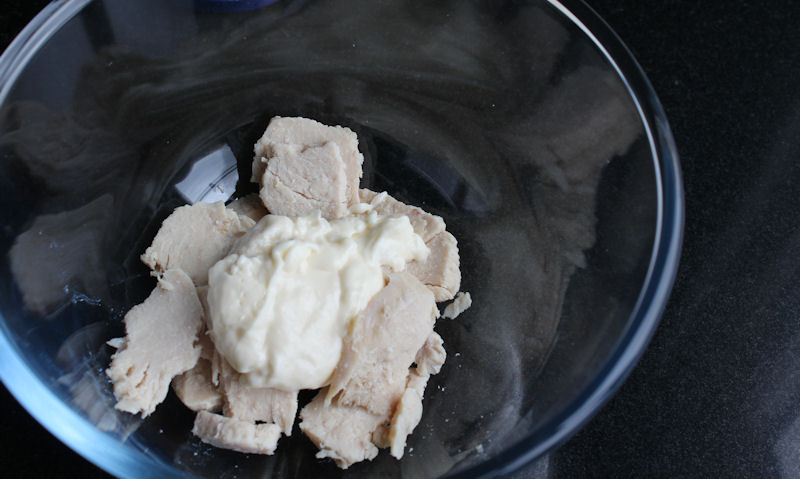
Then throw in a tablespoon of Hellman's real mayonnaise and a spoonful of creamy caesar dressing. We've missed the caesar dressing photo shot here, but believe us when we say we've used it.
Step 3: Mix thoroughly with chicken
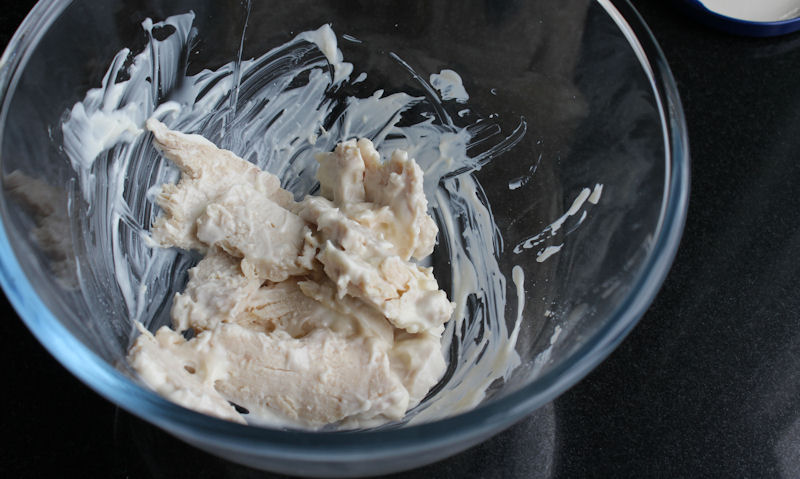
Be sure to mix in the mayonnaise and caesar dressing thoroughly with the roast chicken pieces. At this stage the mayo helps reduce the sharpness of the caesar and makes it more palatable, but still maintaining that caesar flavor.
Step 4: Shred romaine lettuce leaf
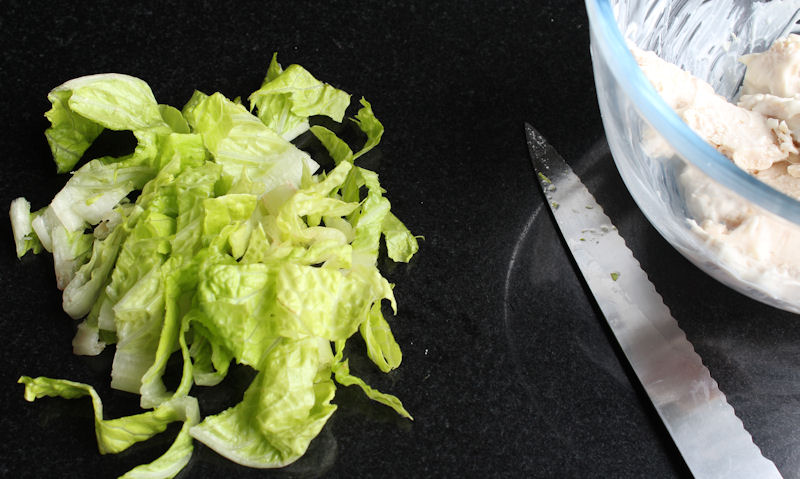
Take one romaine leaf, fold it over 3 of 4 times into a tight fold, then cut several strips about 5mm thick to create shredded lettuce - then set aside.
Step 5: Lay out a plain tortilla wrap
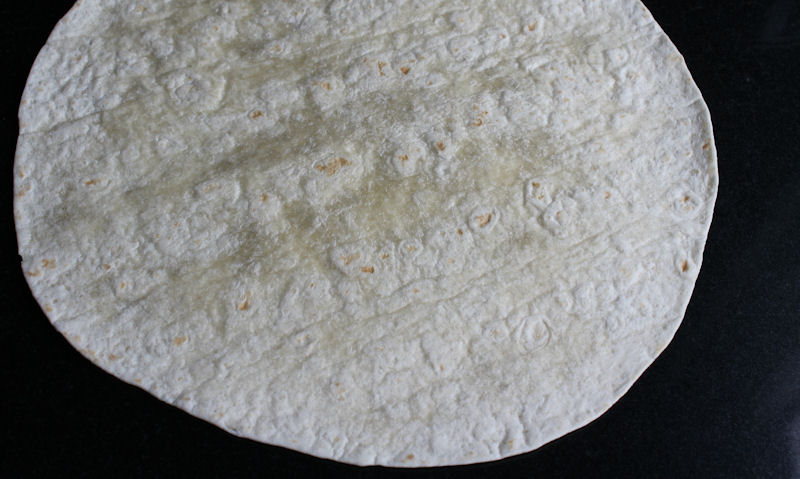
Take a 10 inch white plain tortilla wrap and lay it out on your chopping board. Generally the outer side has a cleaner, softer look and the inner side - facing up - would be warn.
Step 6: Pile on the chicken mixture
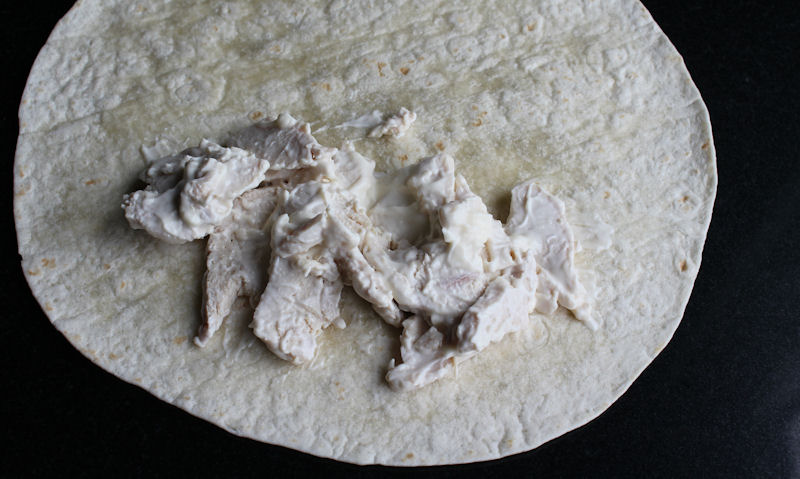
Pile on all the chicken, caesar and mayonnaise mixture on the bottom half - closest to you - about 1 inch away from the edges in all directions, stopping at the half way point.
Step 7: Grated Parmesan cheese
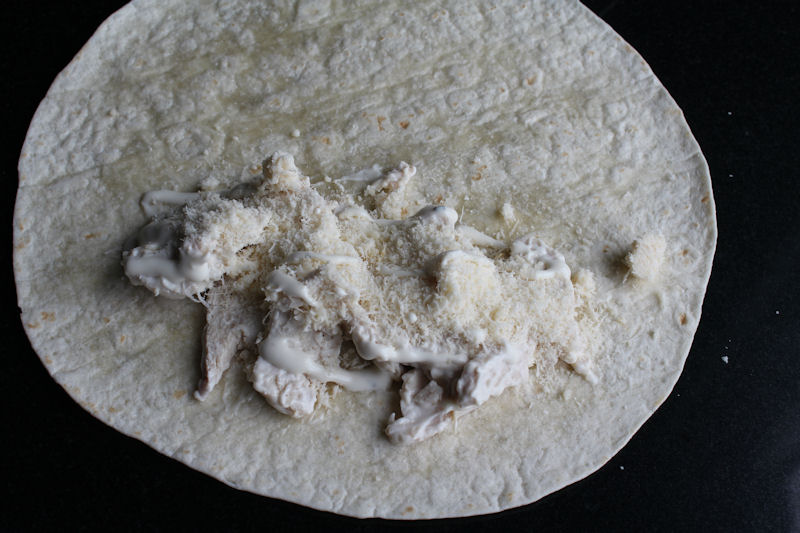
Sprinkle 1 generous spoonful of Parmesan cheese directly onto the chicken mixture. But again stay in the confines of your chicken pile, clear of the sides.
Step 8: Top with shredded lettuce
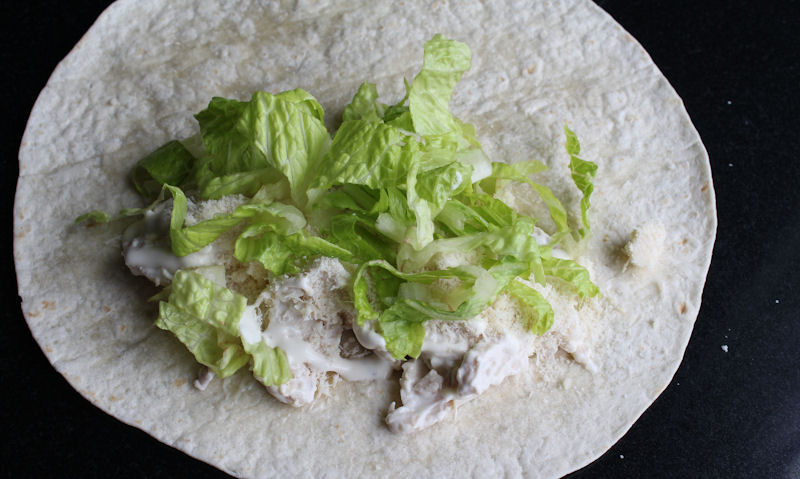
Then, finally top the chicken mixture and the Parmesan cheese with all your shredded romaine lettuce.
Step 9: Fold it over once
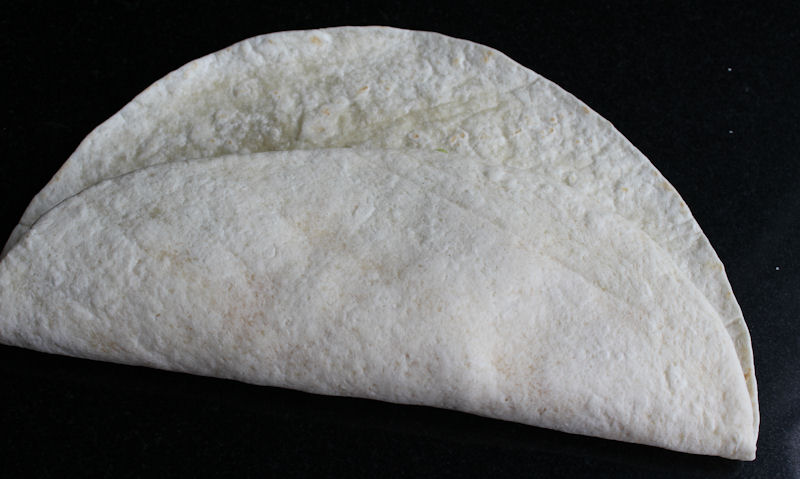
Being careful to keep the ingredients together, roll over the piled side over the the opposite side, about an inch or two from the top edge.
Step 10: Tuck in the sides
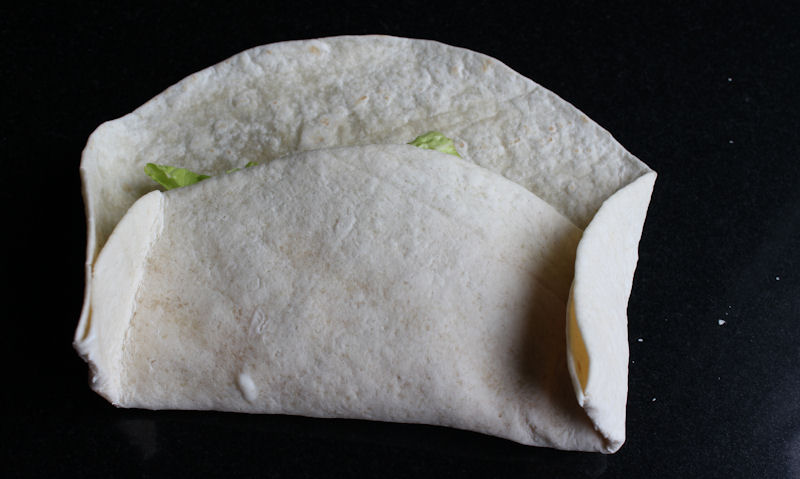
Fold in both sides to keep the ingredients from falling out from either side when fully wrapped. You'll need to keep these sides tucked in as you doing the final step below.
Step 11: Fold it again to make parcel
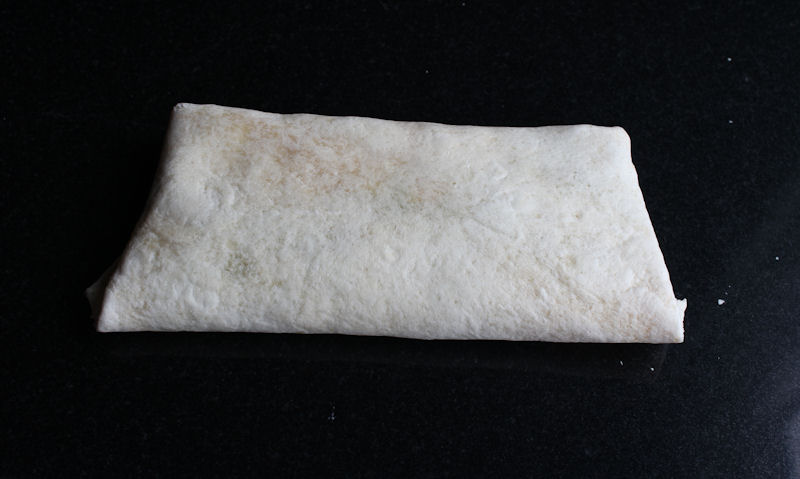
Well holding over the sides down as explained above, you'll also need to fold it over one last time. When done correctly, the folded edges will be tucked inside, and the main fold will be secured underneath the parcel.
So how does it look...
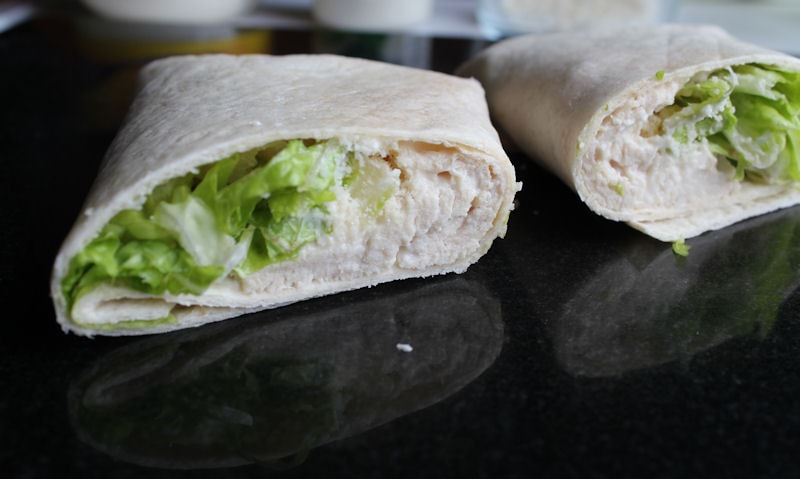
Cut the wrap in half diagonally to reveal the level of ingredients that went into making this wrap. Not only can you see what it looks like, but just admire the yummy fillings. But before you do cut it in half, be sure to chill in the fridge for an hour before serving, as it taste better that way.
